
DIY Dining Cart Tutorial
/Remember our precious dining cart that we posted about last year? (I love jokes like that in January.)
We're here with the dining cart tutorial so you can build your very own.
I'm glad Nate humors me and my crazy furniture building ideas. I like that he now makes my ideas come out better than I can even imagine. That's love. Enough mushy stuff. Let's get to the tutorial which Nate wrote for the blog. (Also love.)
Material List
8 - 2"x4"x8'
2"x3" - Only need 28", so get the smallest one possible, or rip a 2"x4" down
2 - 3/4" x 6' black iron pipe
4 - black iron end caps
2 - corner brackets
Construction adhesive (we use Loctite Power Grab)
Black spray paint
Small nails or upholstery tacks
Cut List
2"x4"
4 - 30.5" (sides)
6 - 45" (outsides of shelves)
6 - 38" (middles of shelves
6 - 7" (ends of shelves)
2"x3"
4 - 7" (middles of sides)
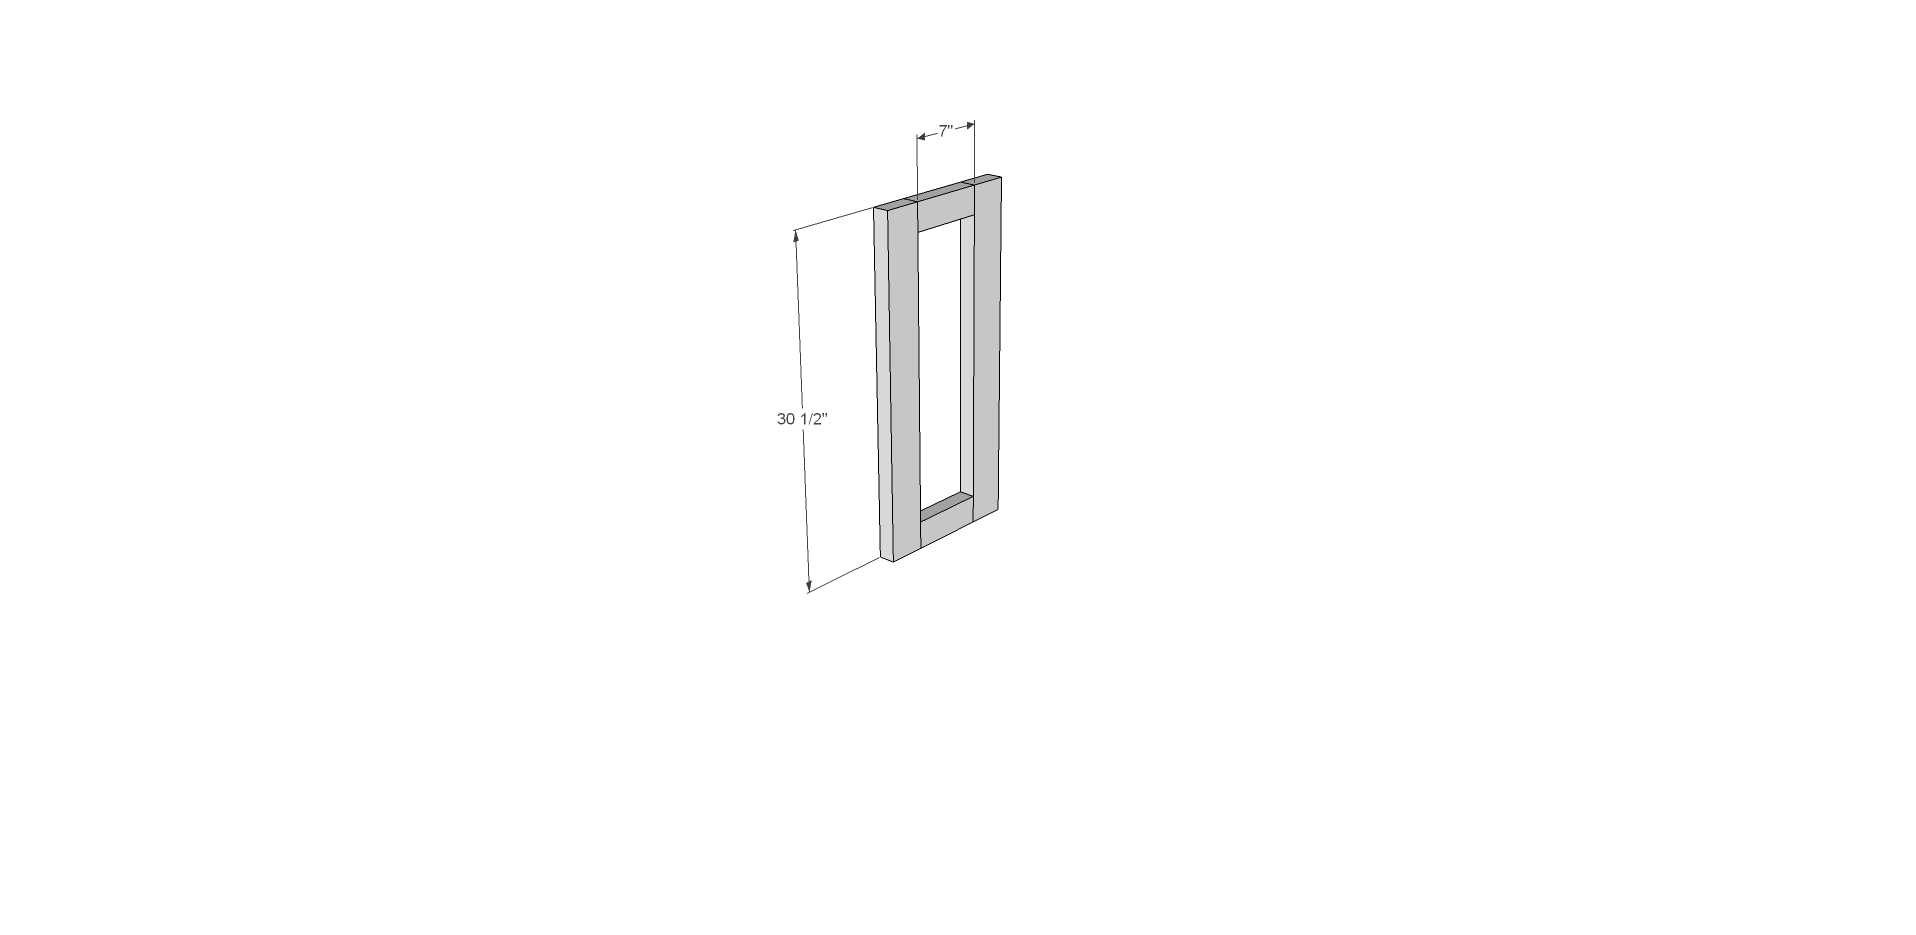
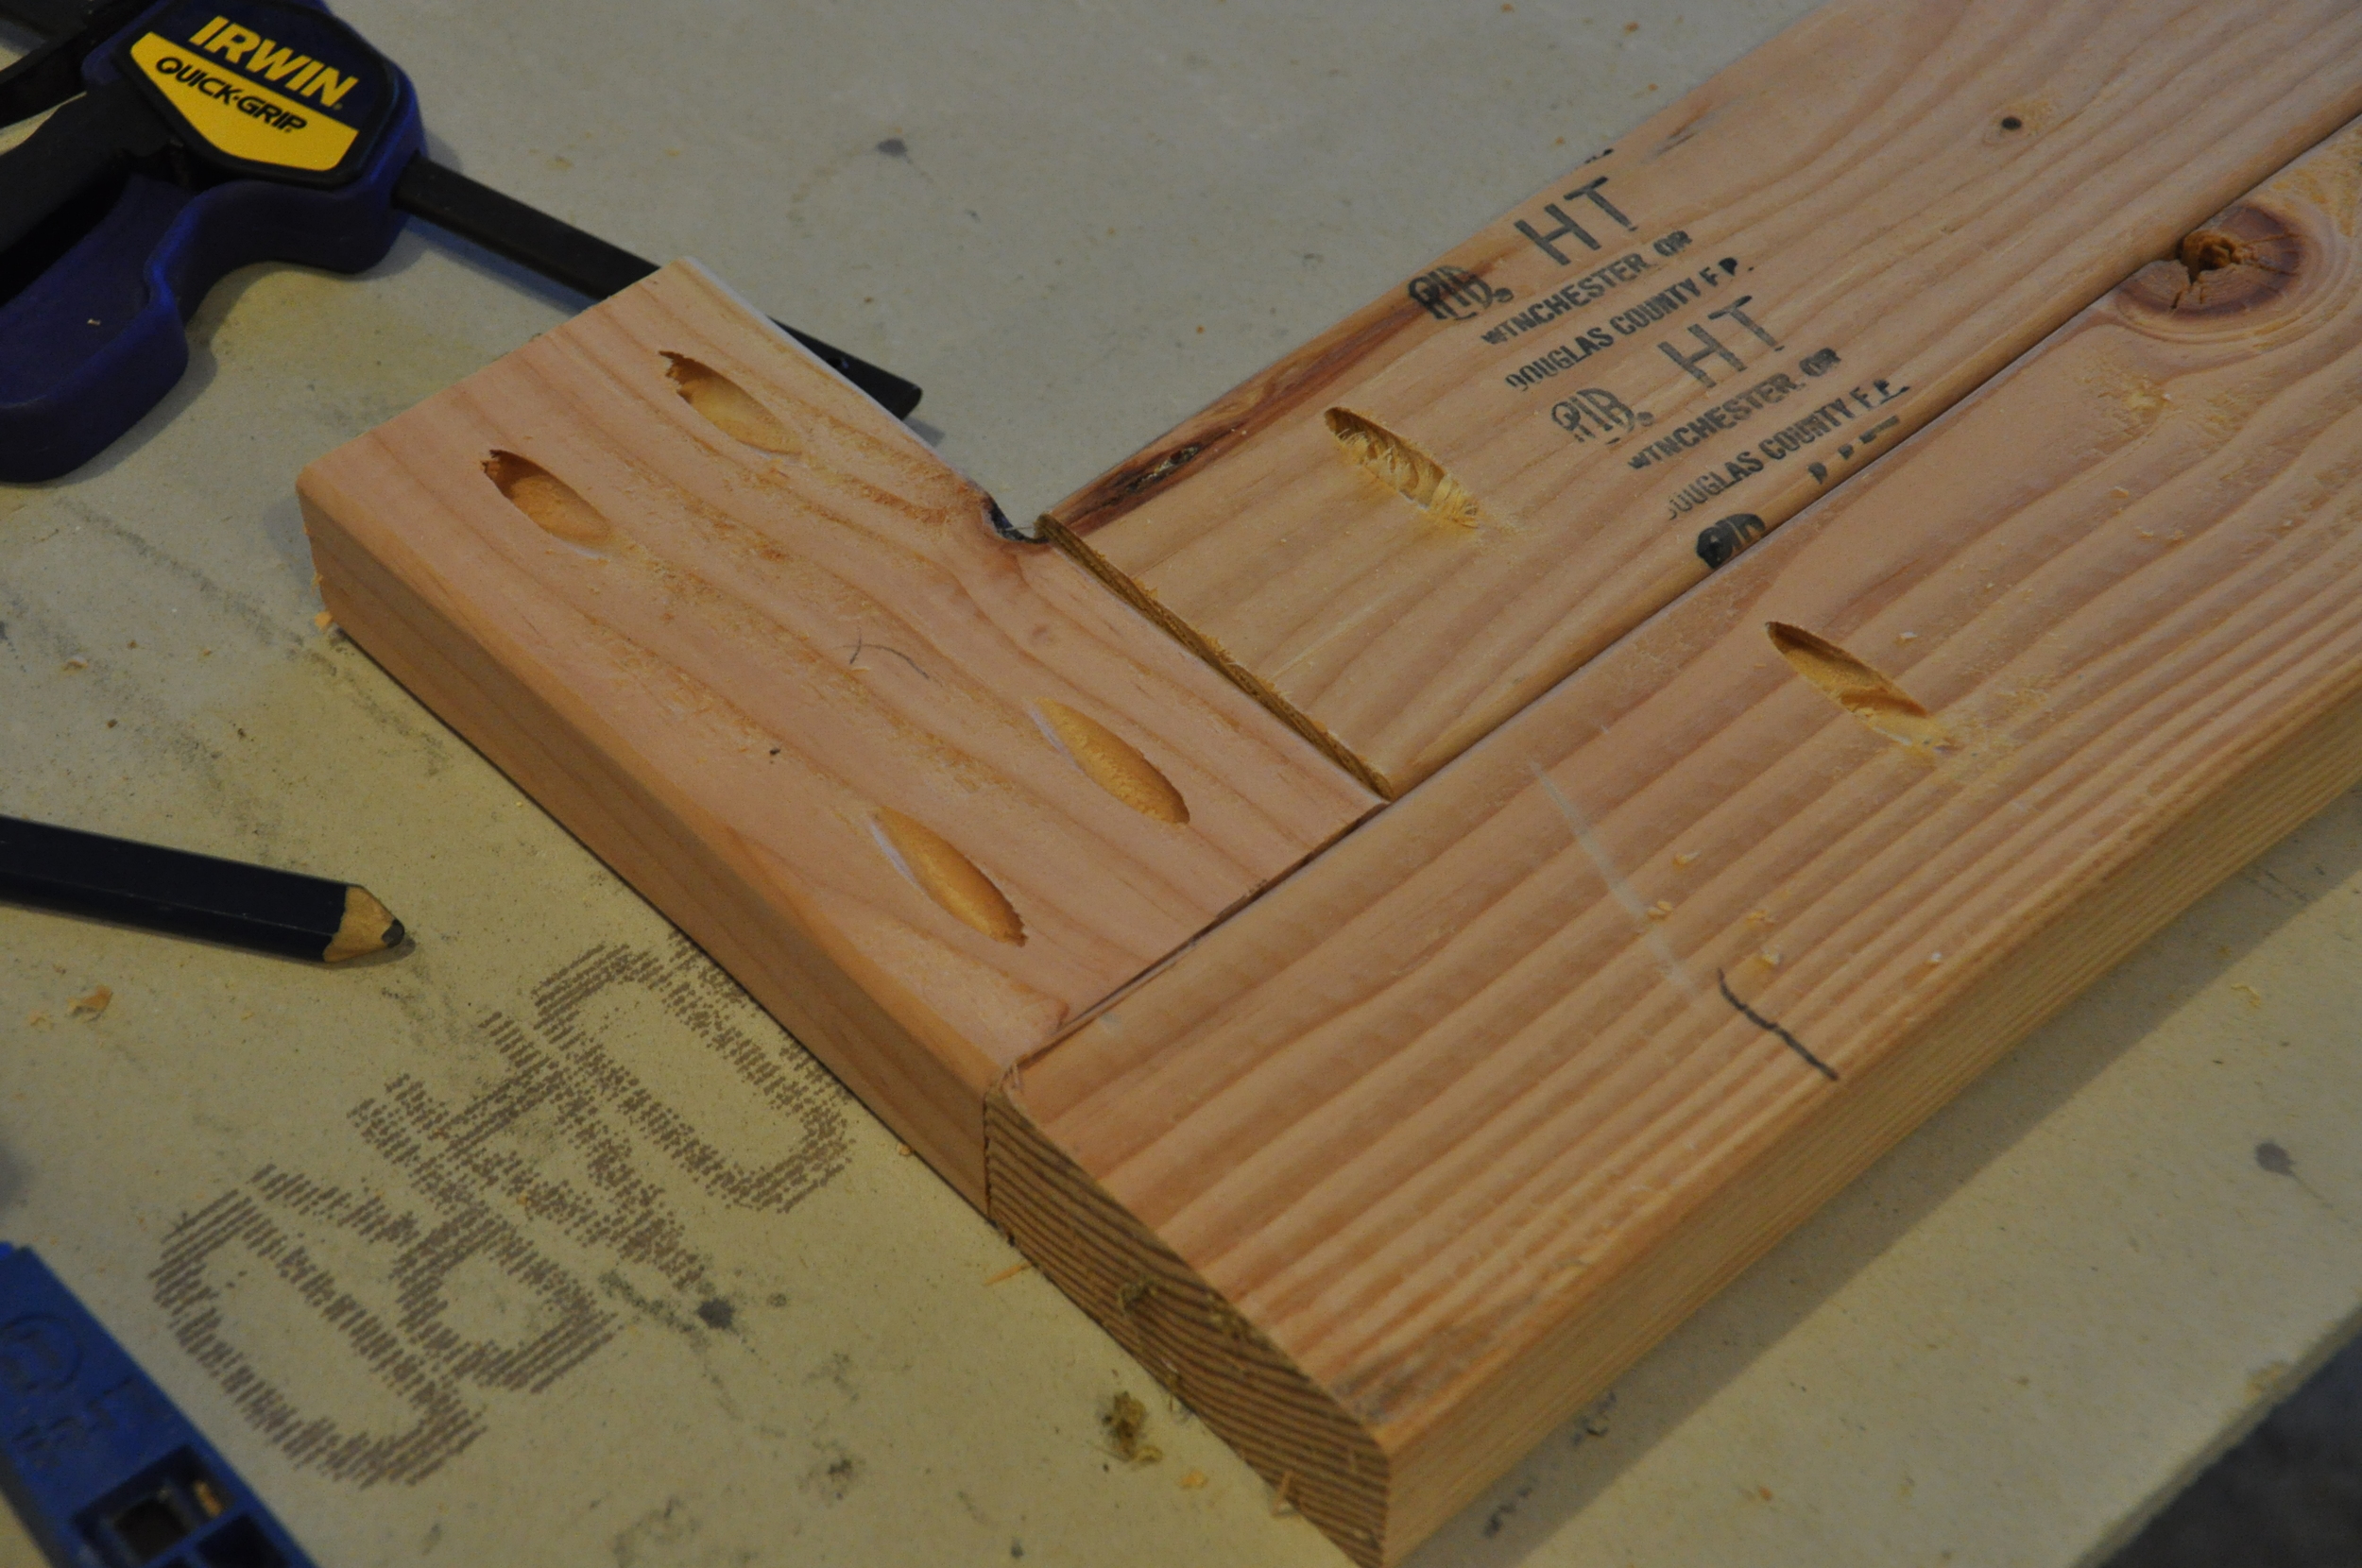
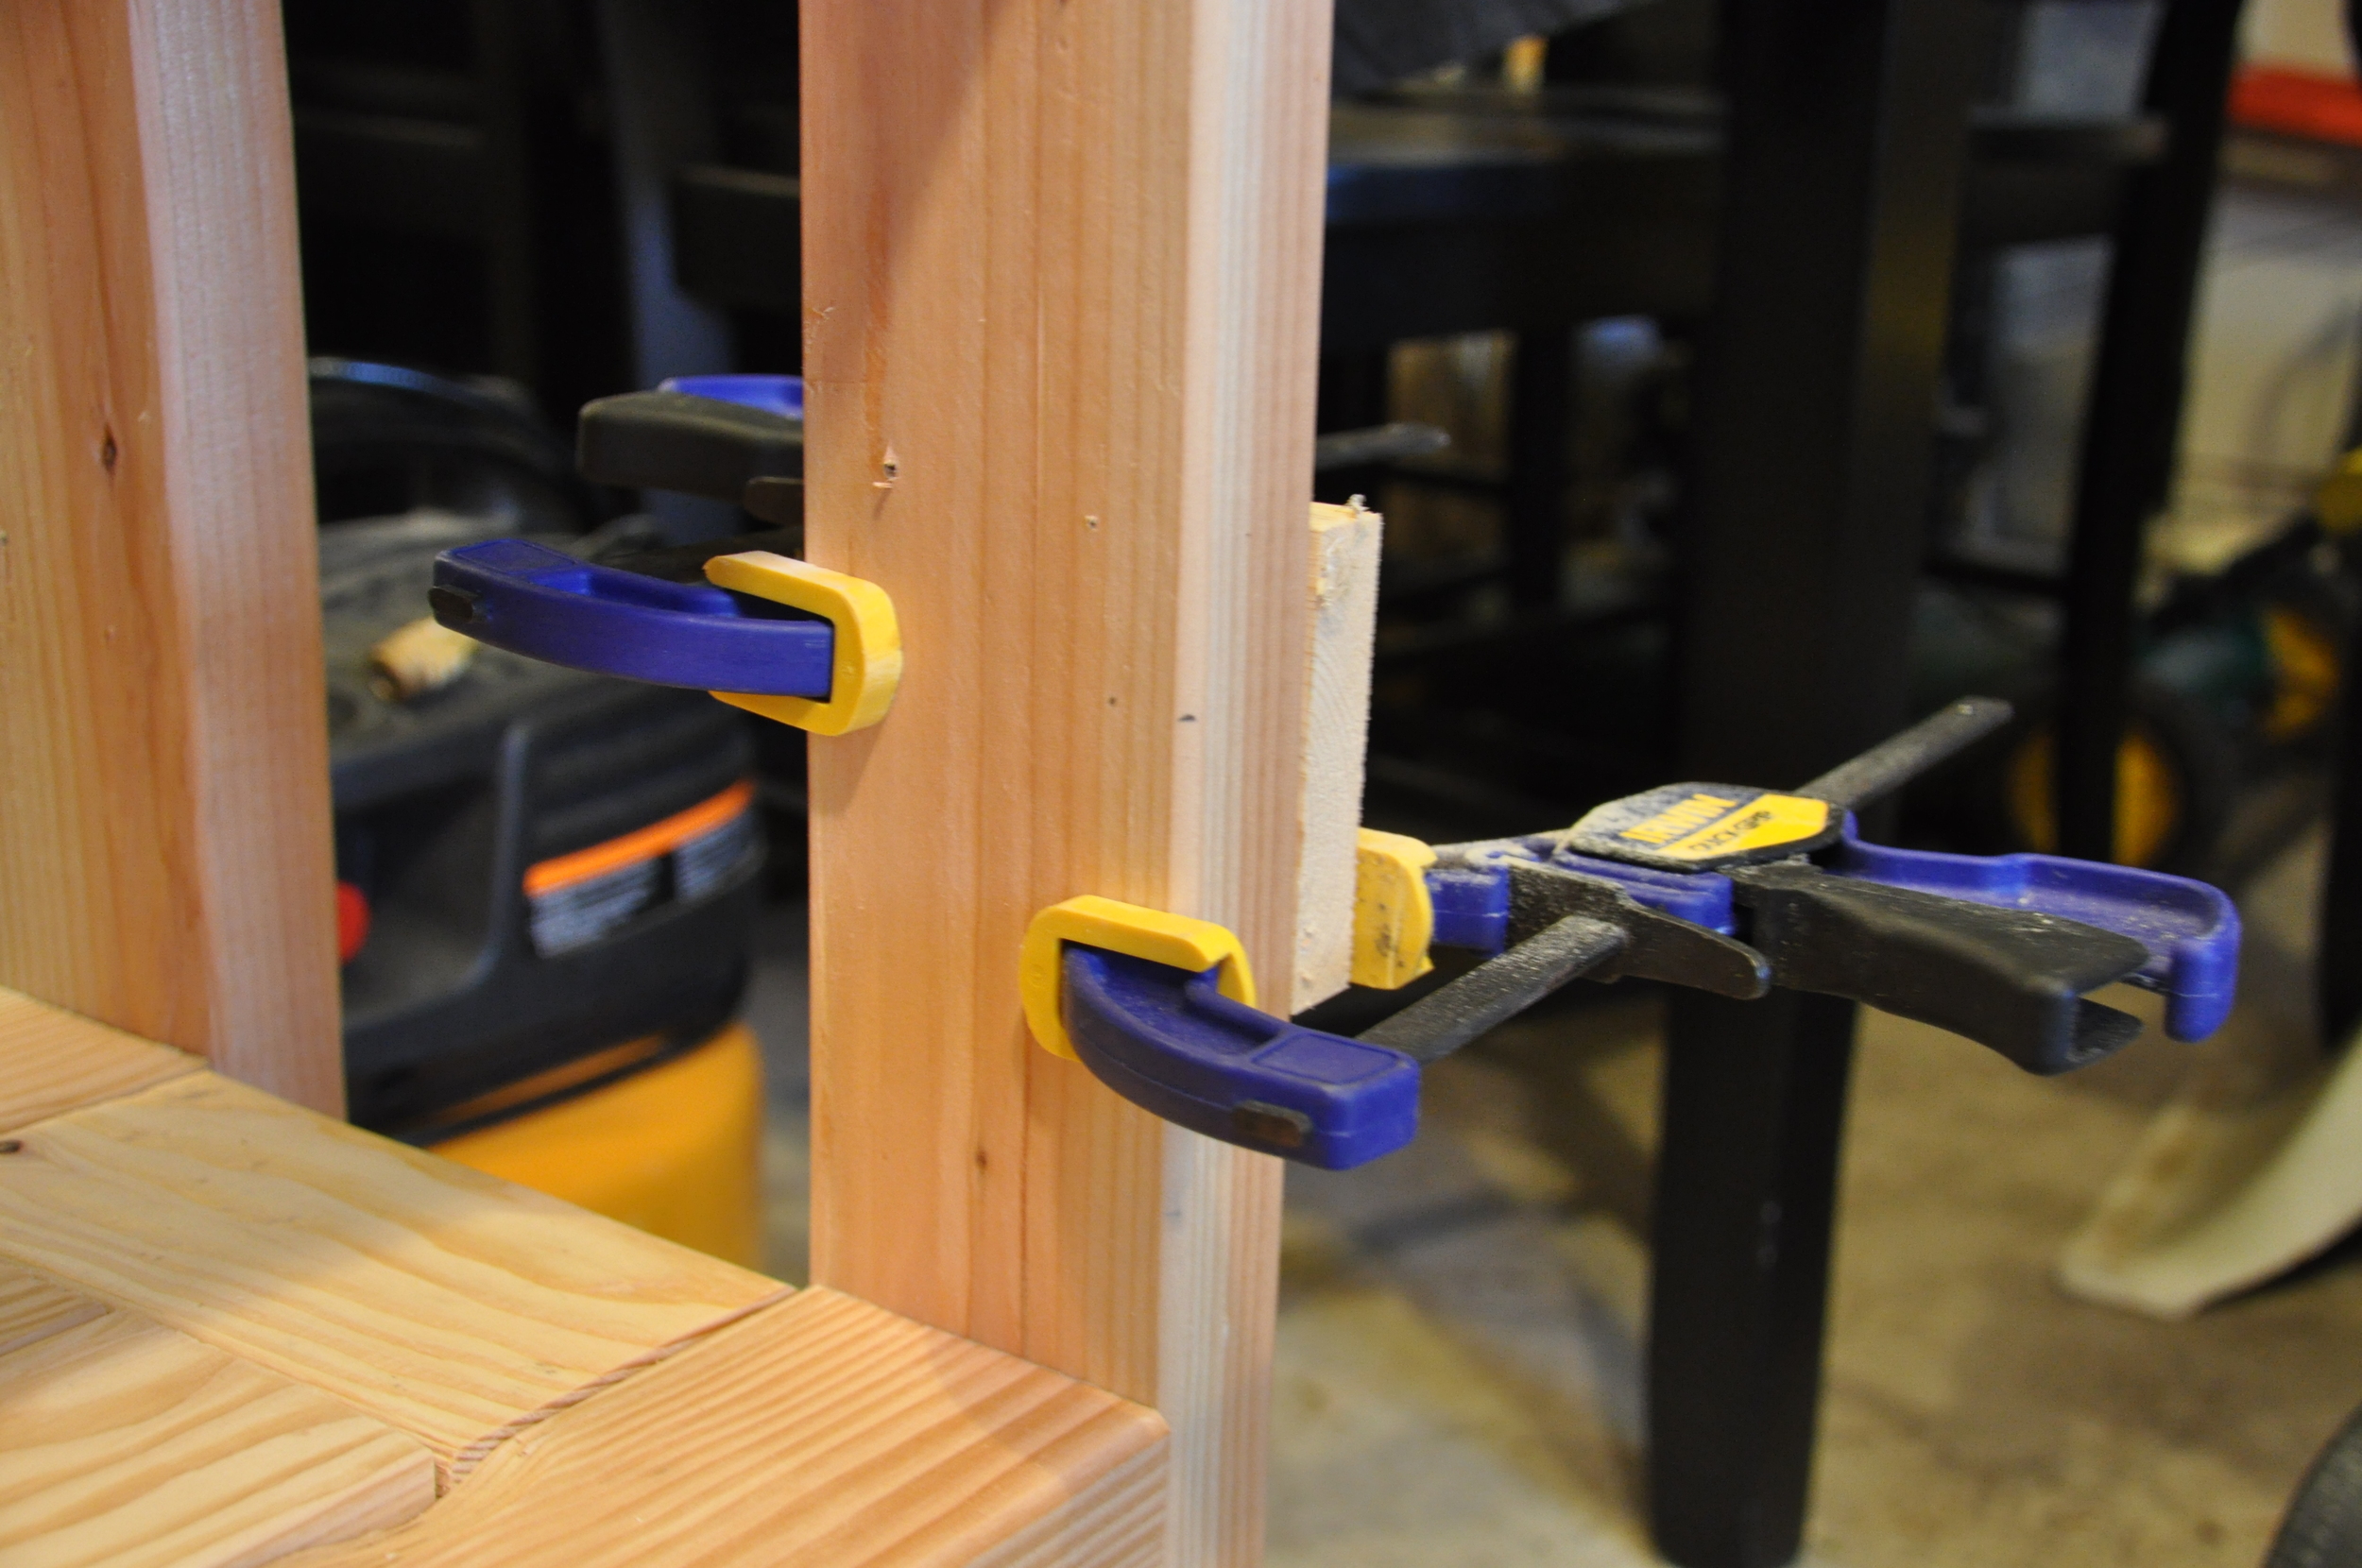
Start by building the sides, using pocket holes and glue. Attach the 7" 2x3 to the top and bottom of the 30.5 2x4. I used one hole at the tops of the 2x3's as it will be hidden by the shelves.

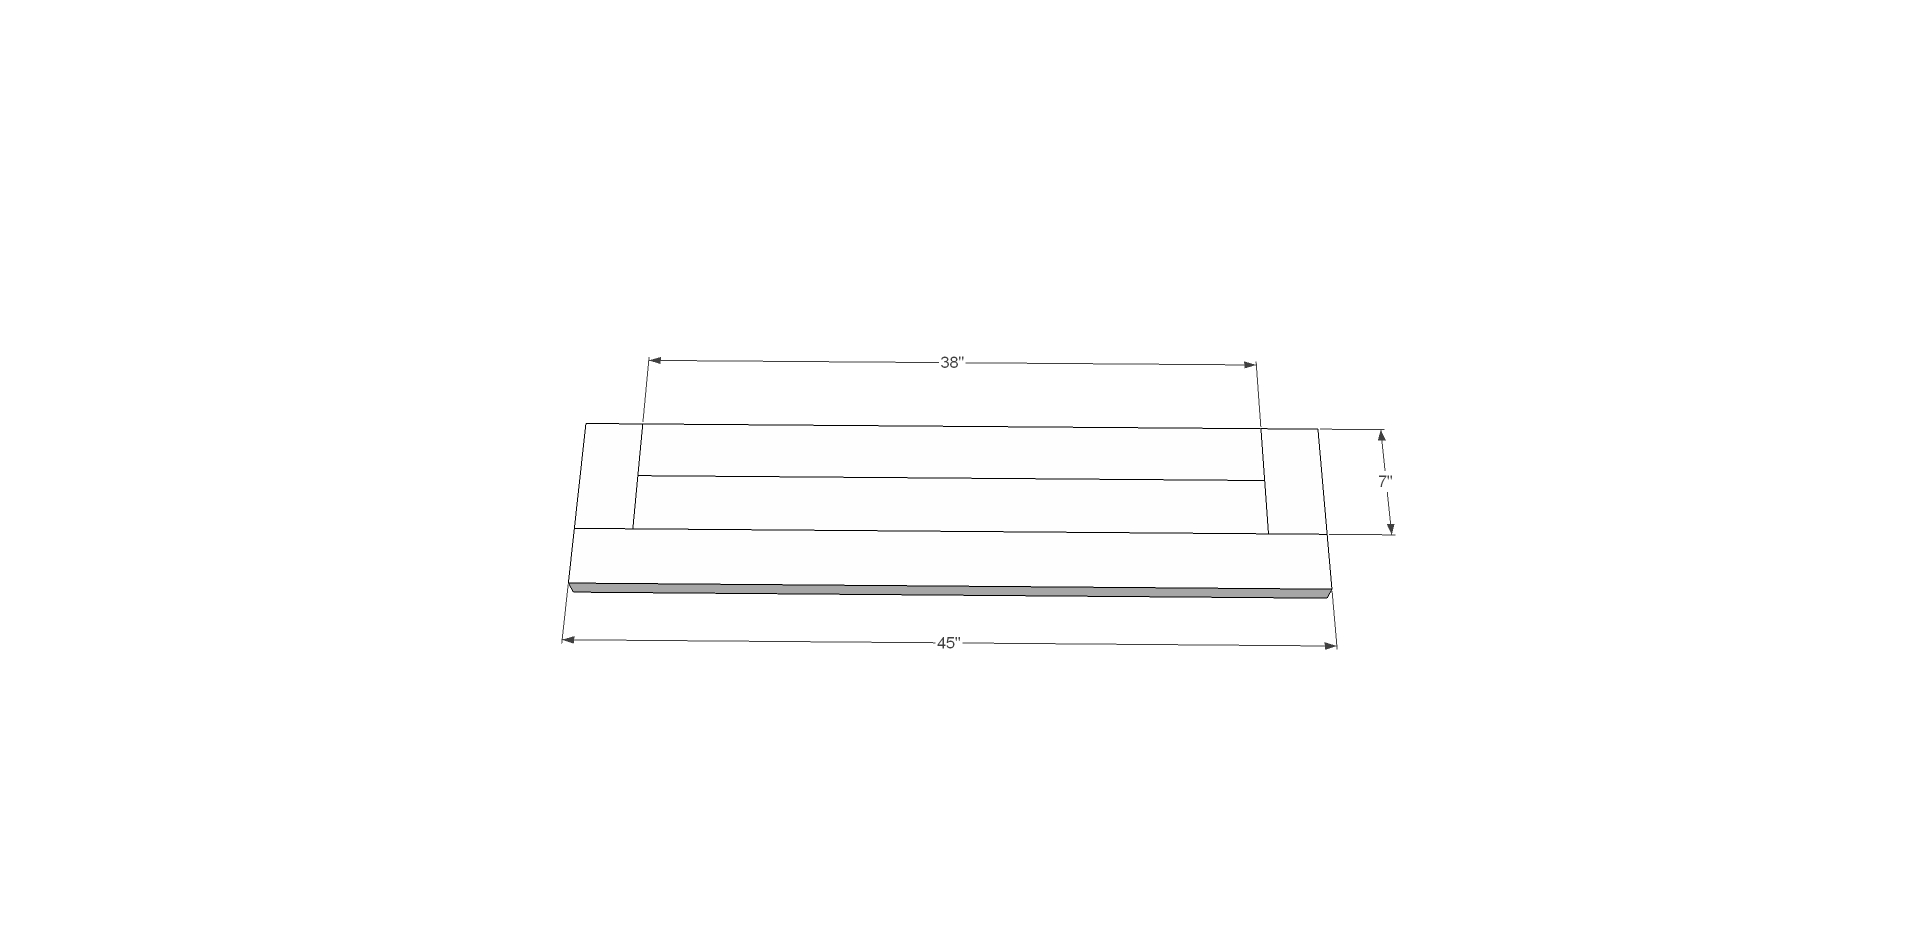
Next, build the 3 shelves. I attached the two outside 7" 2x4's to the 45" 2x4 with wood glue and pocket holes on the bottom of the shelf.

Using wood glue and pocket holes attach the two 38" middle 2x4's, then attach the other outside 45" board. Repeat for other 2 shelves. If some of the boards are a little uneven, sand with belt sander or use a planer to even.

Using pocket hole screws, attach the bottom shelf to the bottom of the 2 sides.
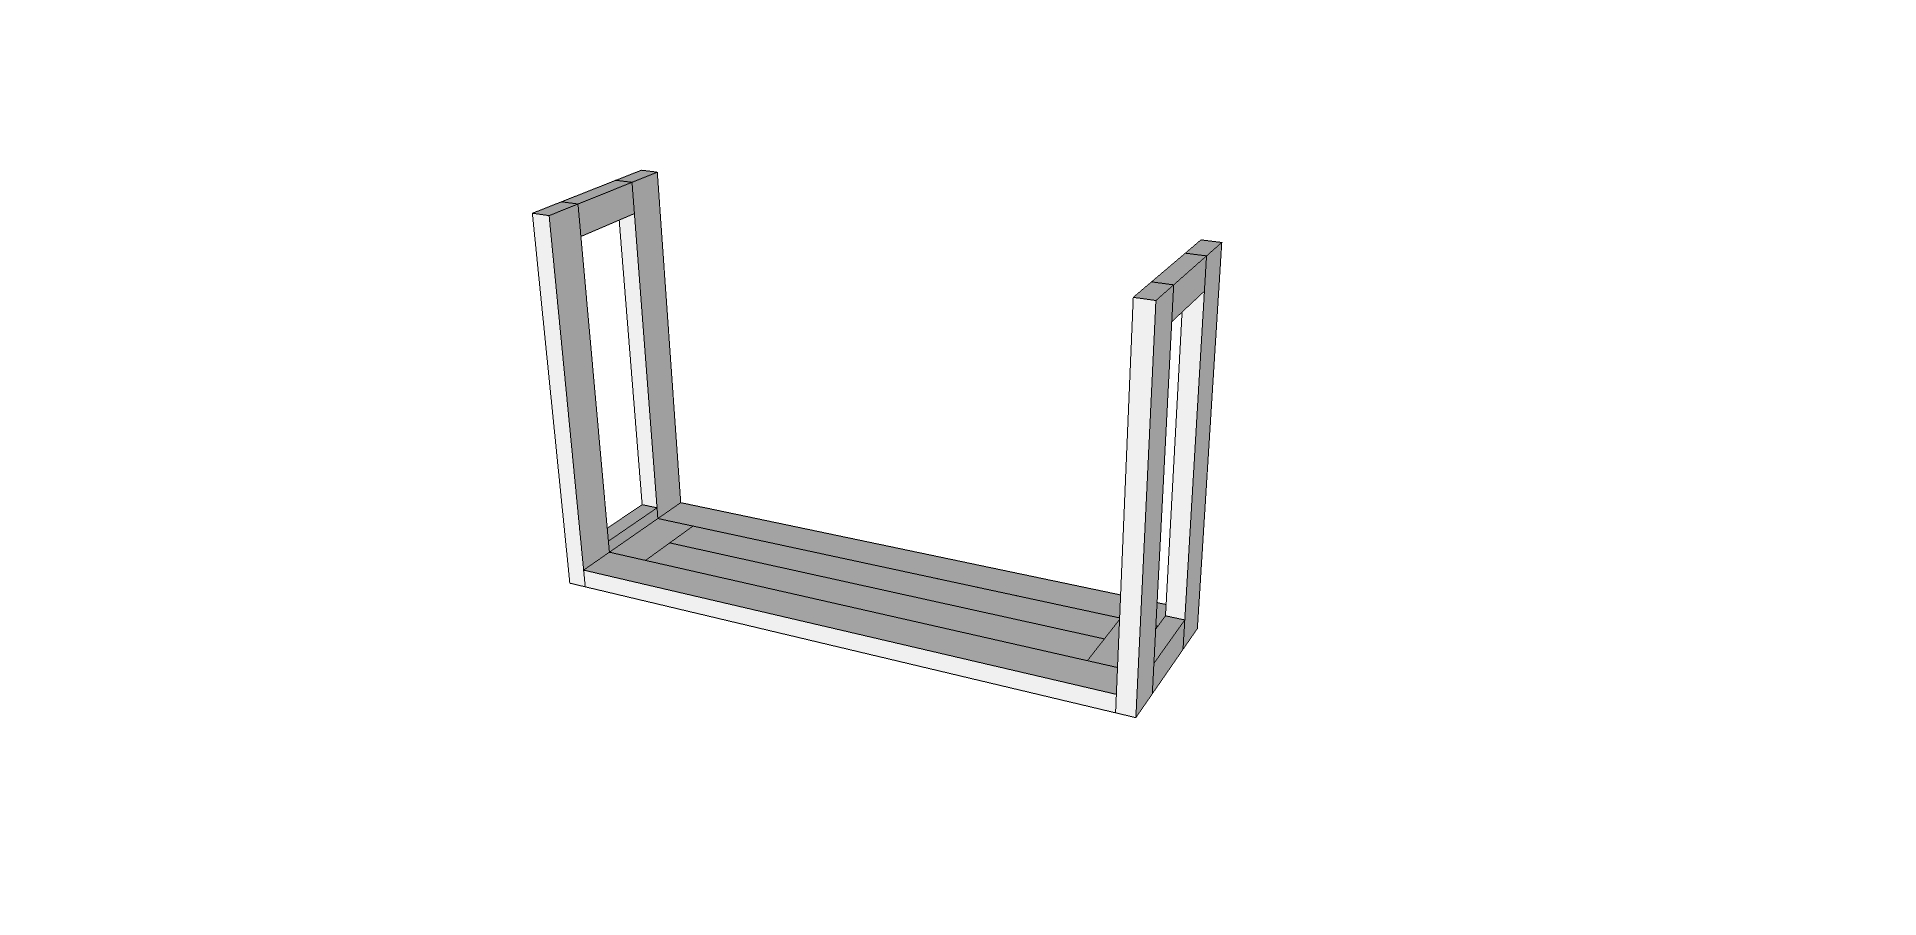
Then mark 13 3/4" up from the bottom shelf on the sides, attach the middle shelf using those marks with pocket hole screws.

Finally, attach the top shelf to the top of the sides.


Drill holes for the rods in the back, measure up 5" from the bottom and middle shelves, then in 5/8". Drill hole slightly larger than the pipe, the hole for ours was 7/8". When drilling, put a scrap board behind the 2x4's in order to prevent the back side from "exploding" when the bit goes through.

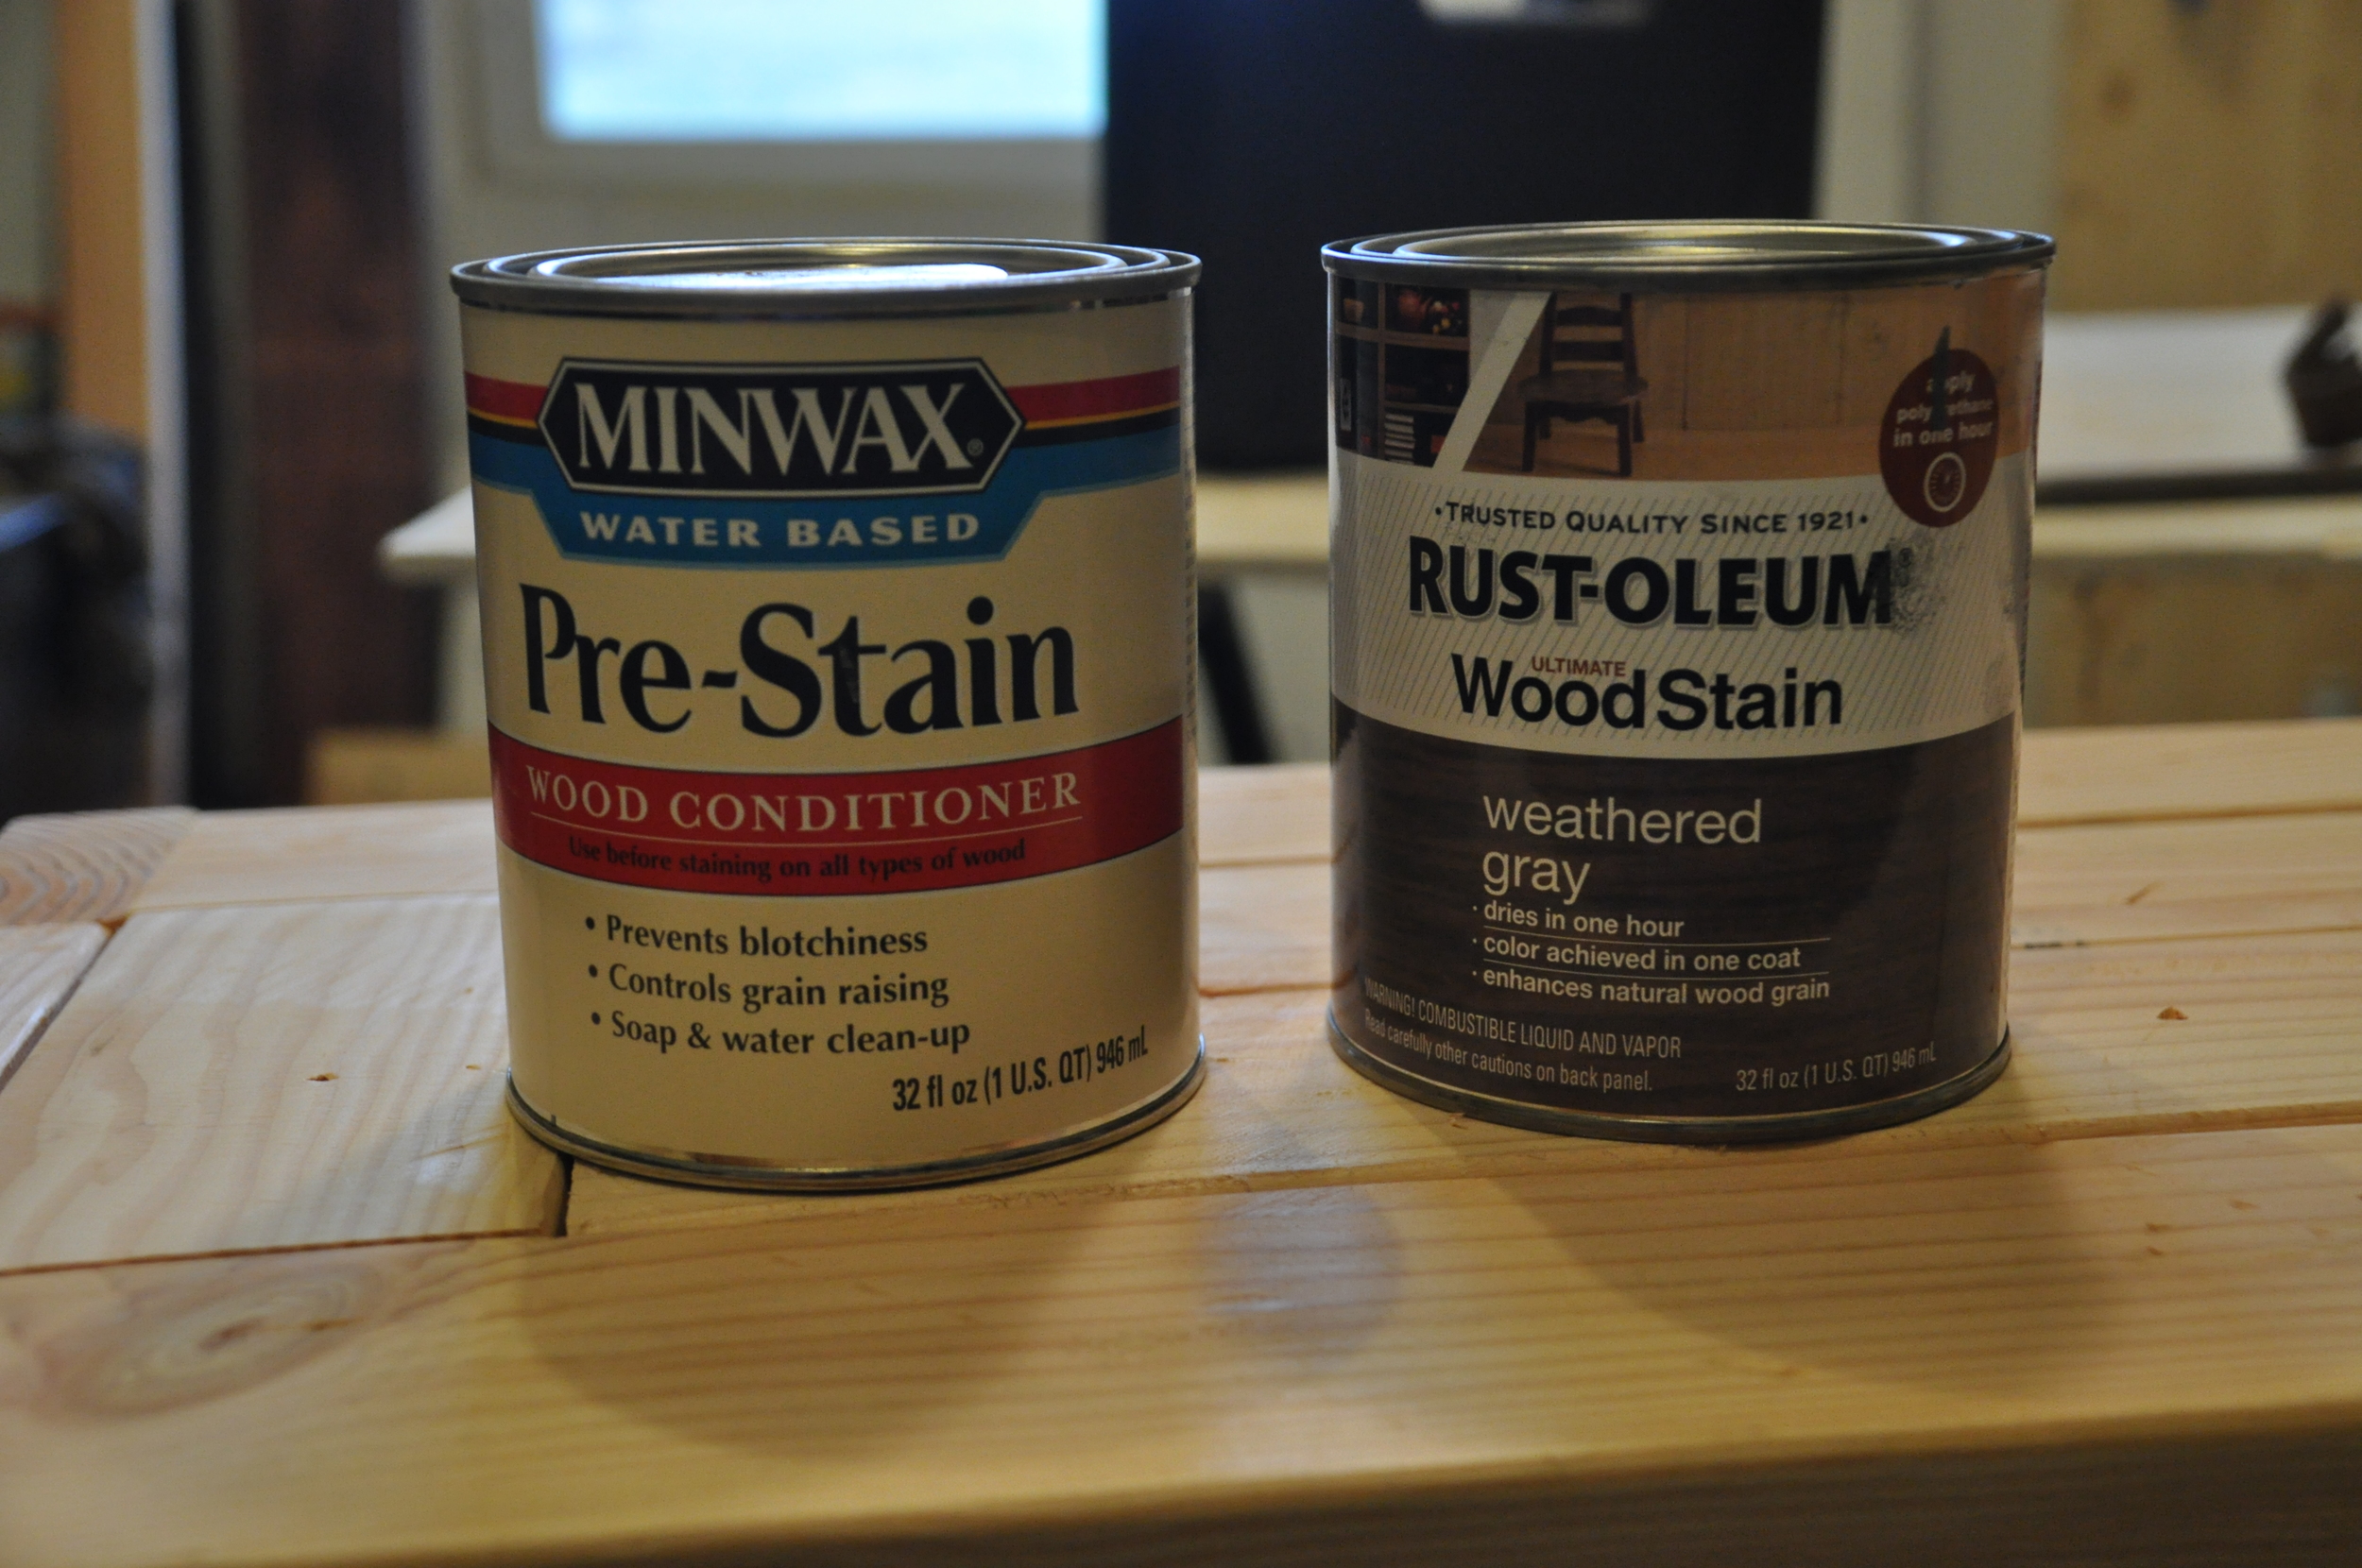
Sand any remaining uneven surfaces. Stain or paint and poly. We used Rust-Oleum wood stain in weathered gray.
Using a hack saw, cut the black iron pipe so when a cap is placed on one end it will go into the opposite hole about 3/4". Test fit the cut, leaving it in the board, measure the remaining length needed (probably about 1 1/2" or so). Cut that length off of the remaining pipe, making sure to keep the threaded part. I did this in order to keep the threads on both sides so the cap will screw on. There is probably a tool that will put threads on the end of the pipe after it is cut but I don't do that much work with this material so this seemed cheaper than buying a tool only to use it once. Put end cap on short piece. Test fit making adjustments as necessary. Put construction adhesive around the end of the cap and down pipe a bit, and on the longer pipe put adhesive on the end once just before putting it into the opposite hole. Repeat for second shelf. Let glue dry.

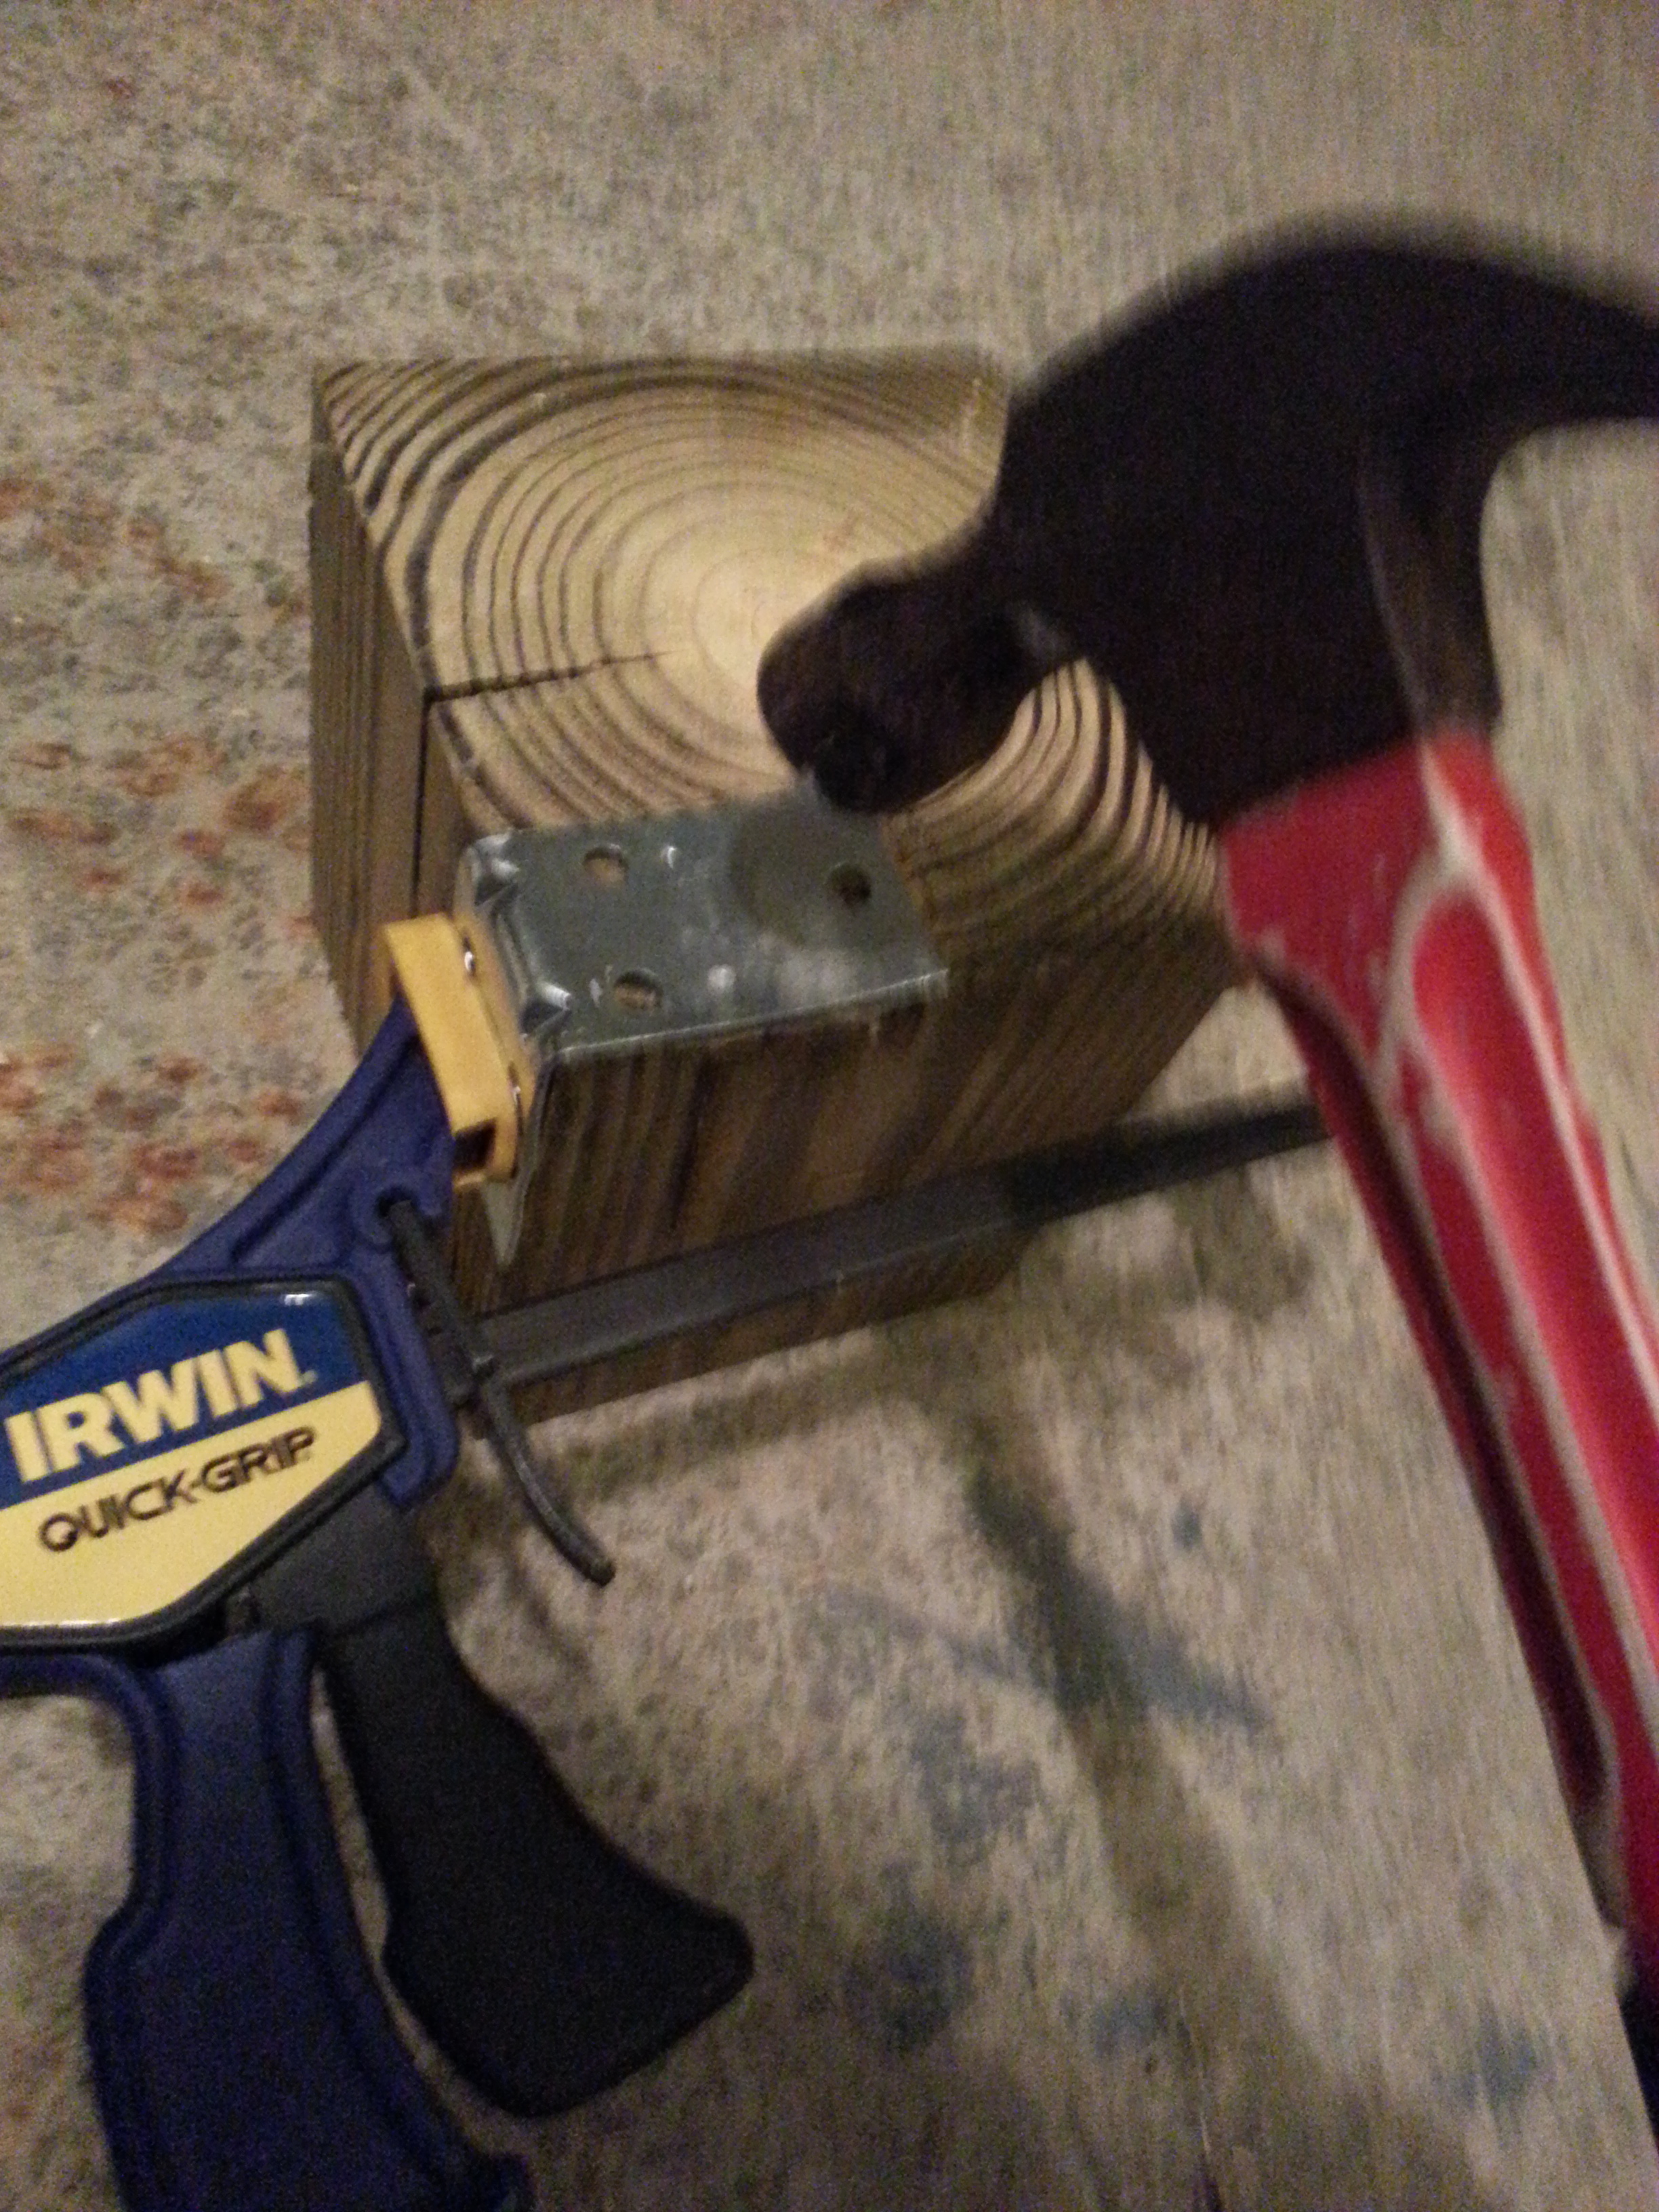
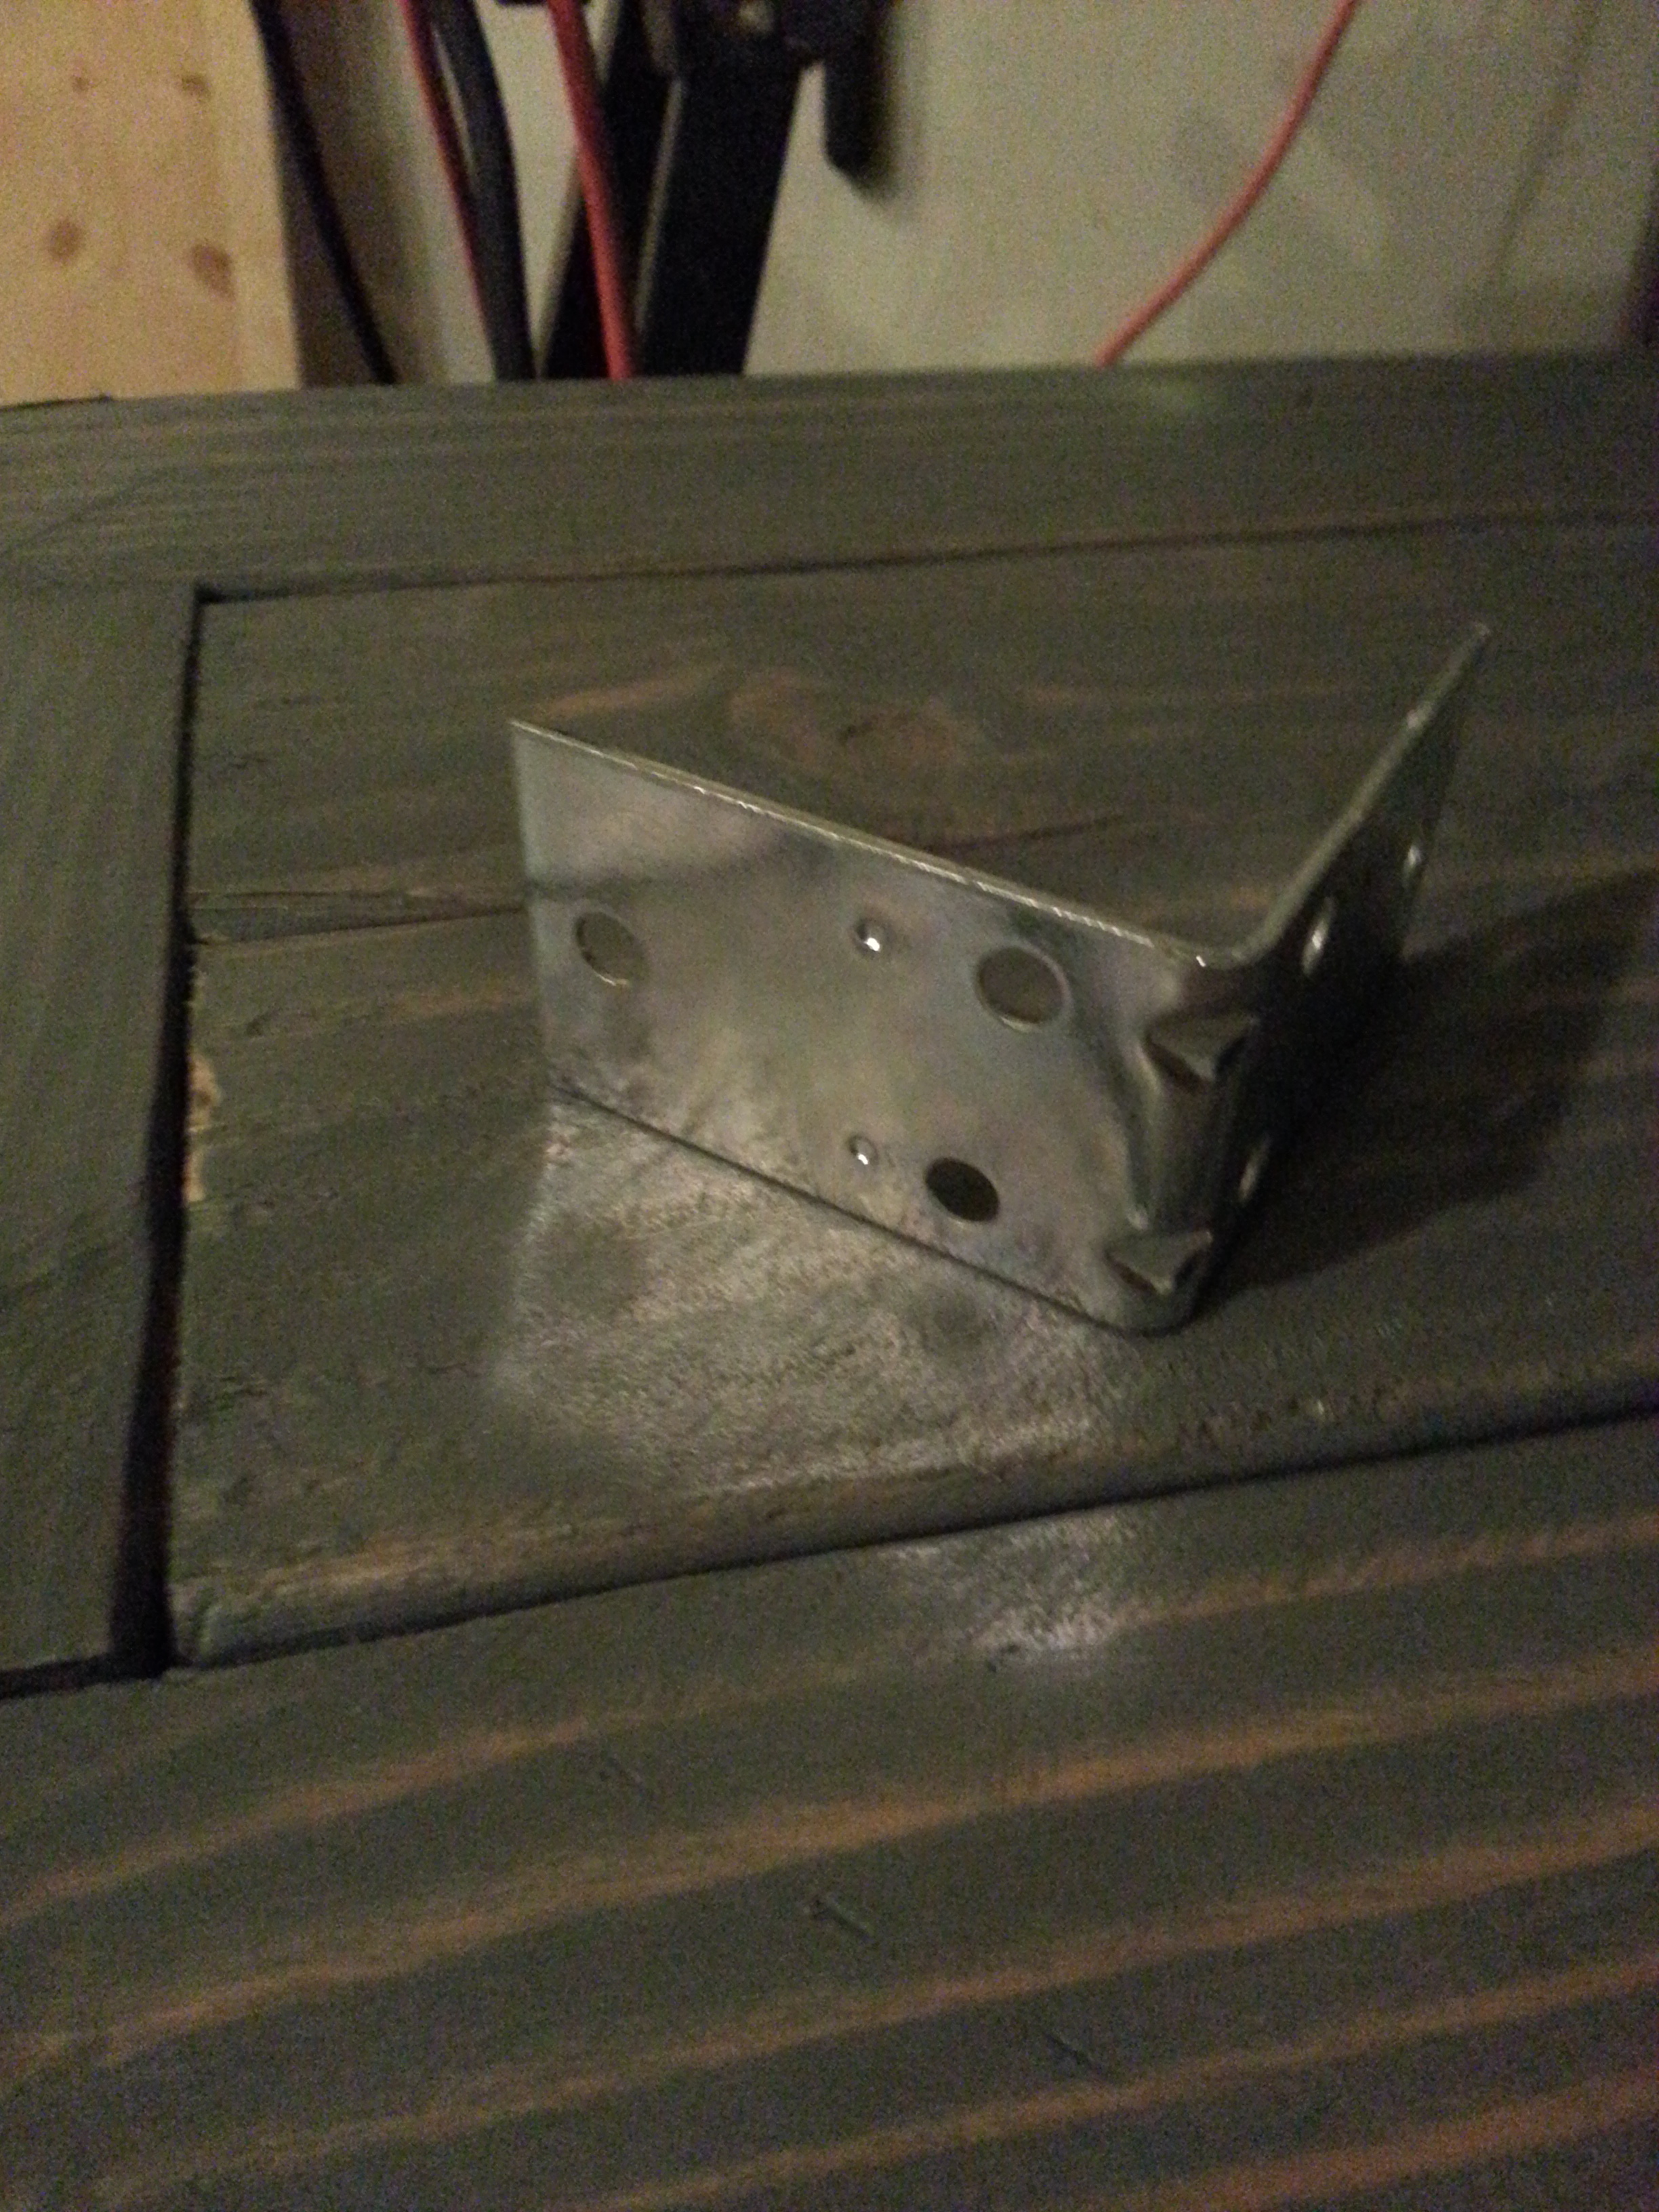
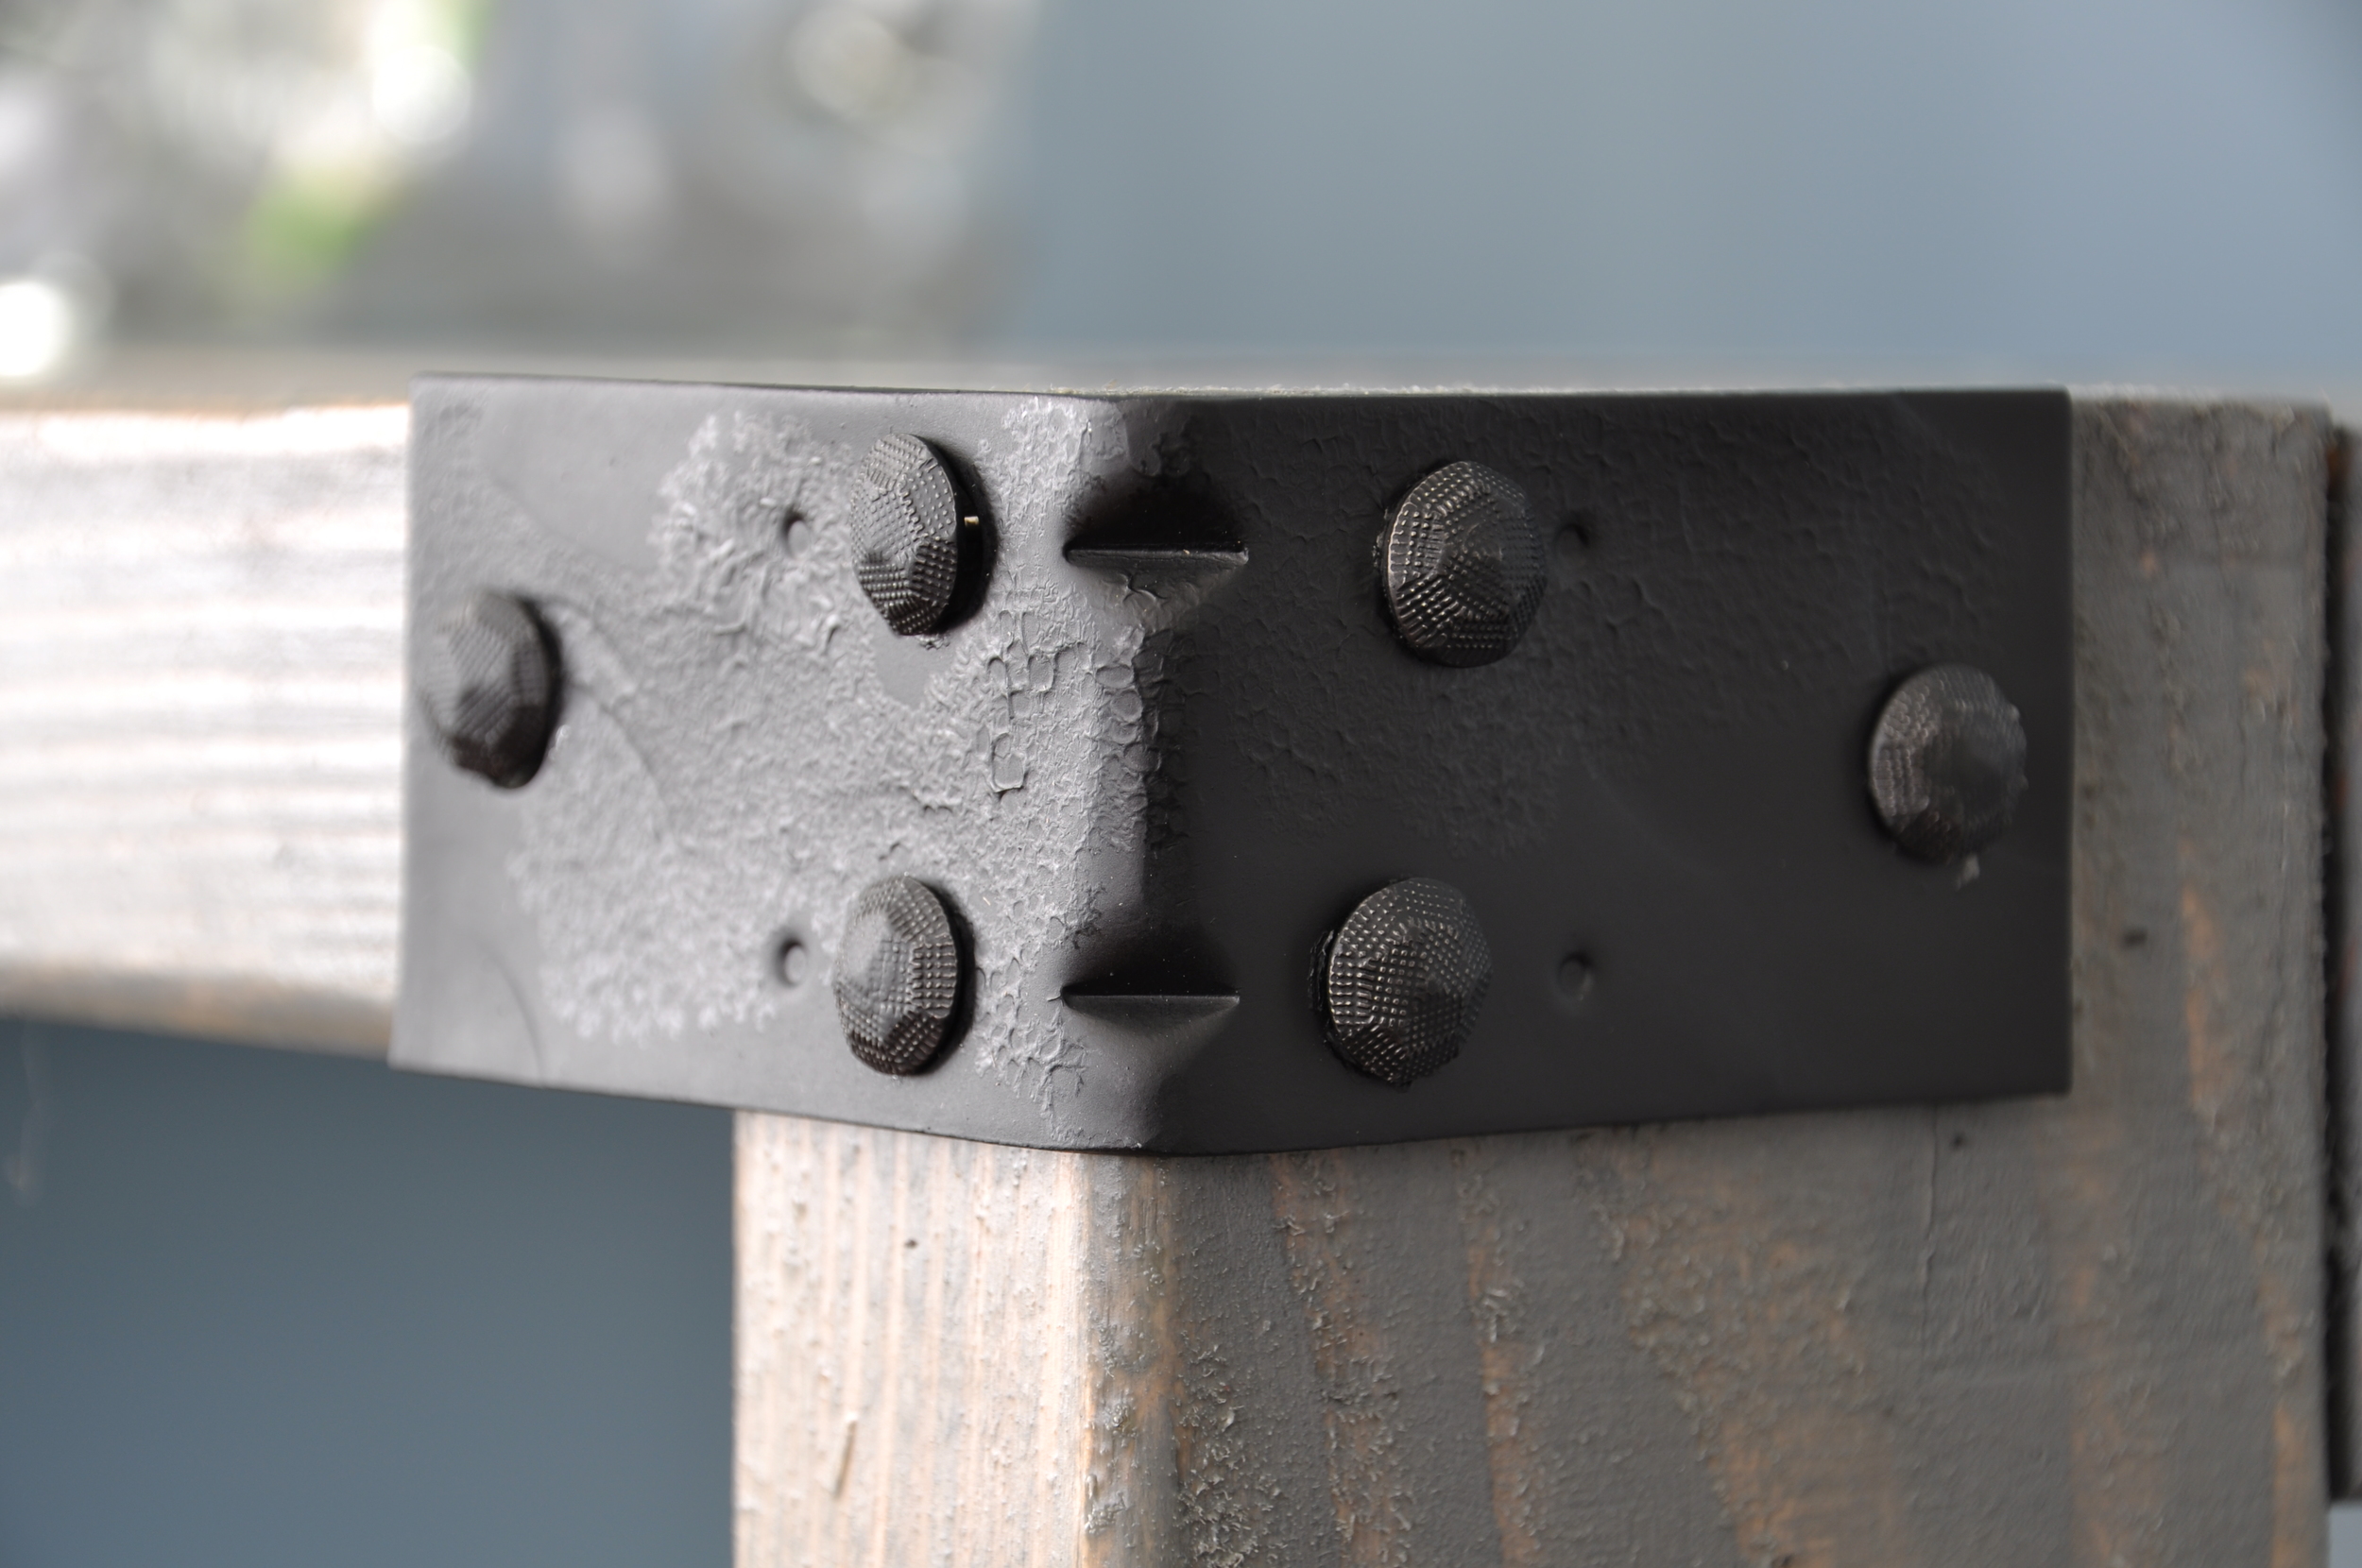
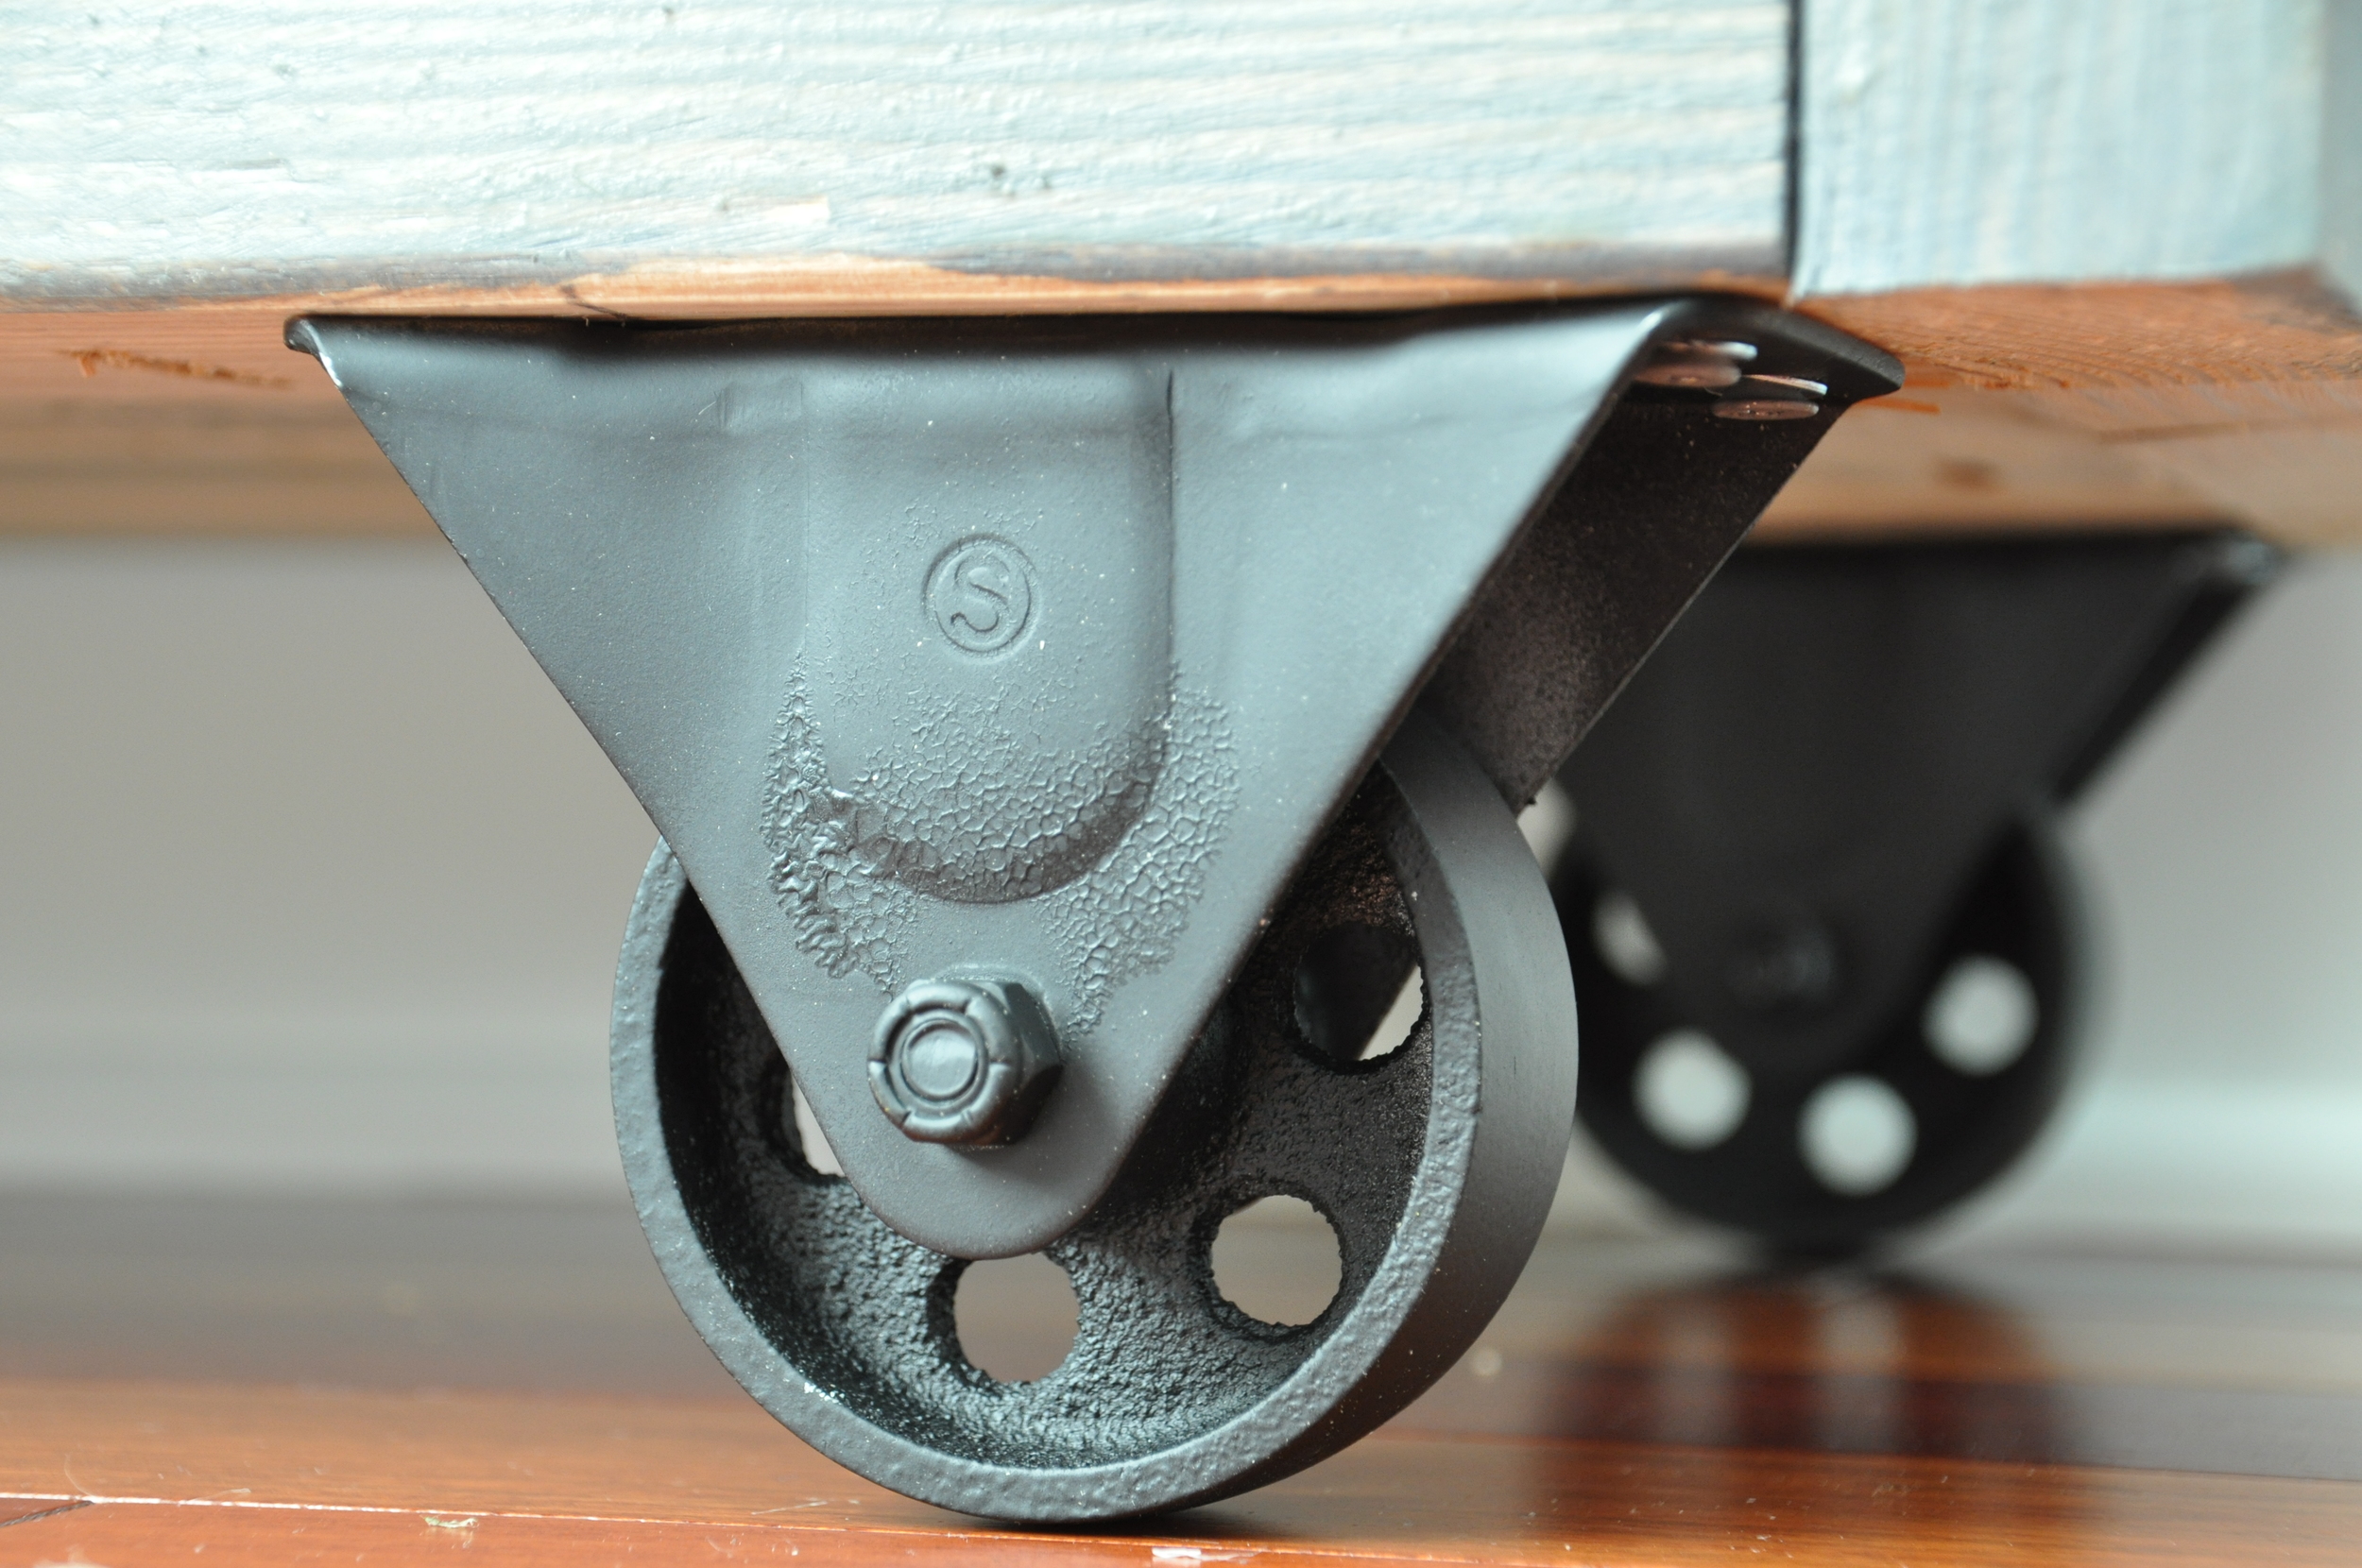
If you cannot find vintage corner brackets and wheels, use new brackets (inexpensive ones from any hardware store) and beat them up a bit with a hammer. We spray painted ours black. We purchased these wheels and gave them the same treatment.
Attach the corner brackets with nails or tacks to the top front corners. We used upholstery tacks. Note: You will have to spray paint nail or tack heads to match brackets.
Attach wheels to bottom of the cart, I placed mine on the outside, with the end of the wheel on the end of the shelf.

Place your dining cart in it's home and fill it with beautiful Pyrex. Or whatever you want to store, I guess.

Nate and I are now talking built in shelves for the living room. Pesky tax season is going to make that a long process but we'll get there!
Check out our "build it" page for more free furniture building tutorials!
Any furniture builds in your future?
Linking up to: Thrifty Thursday


