Kitchen Island Bead Board- How To
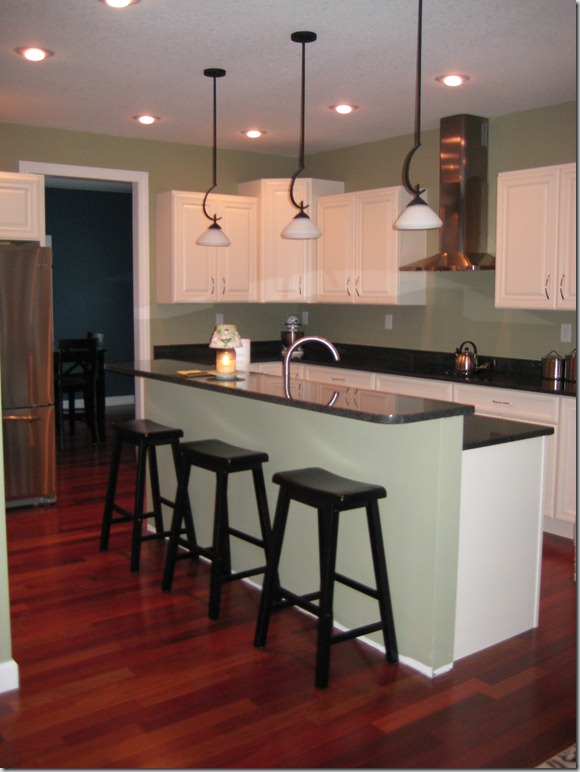
/This is what our kitchen looked like in January of 2010.

Bland. The island needed something…and that something was bead board!
How’d we do it?
(We did this prior to blogging. I apologize for the lack of pictures!)
- We purchased beaded tongue and groove boards from Menards.
- We had originally planned to buy a sheet of bead board but neither of us was crazy about the look of the sheet. We preferred more of the classic tongue and groove look.
- Nate cut the boards (using a miter saw) to match the height of island.
- I primed and painted all of the boards before we hung them.
- We started on one end and nailed each board on top and bottom (and we used extra nails everywhere there was a stud for extra stability). Once a board was fully nailed we joined the next board and repeated until the corner.
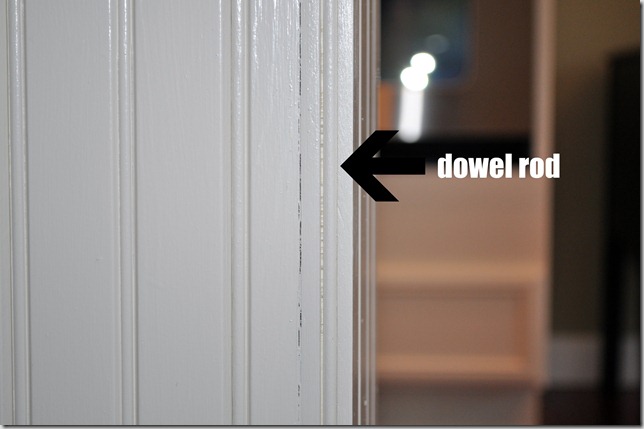
- On the corners, we cut off the rounded edge of the groove..which left a little gap that we filled with a dowel rod and some caulk to simulate the bead. Easy disguise! (Looks like we need to re-caulk!)

- We used window casing on the bottom in place of traditional trim and a decorative trim piece to cover nail holes on top.


- I then filled in the nail holes and painted the edges.
- And wah-lah, a pretty island.
Neither of us remembers the cost but it was pretty inexpensive.
Made any inexpensive upgrades in your kitchen?


